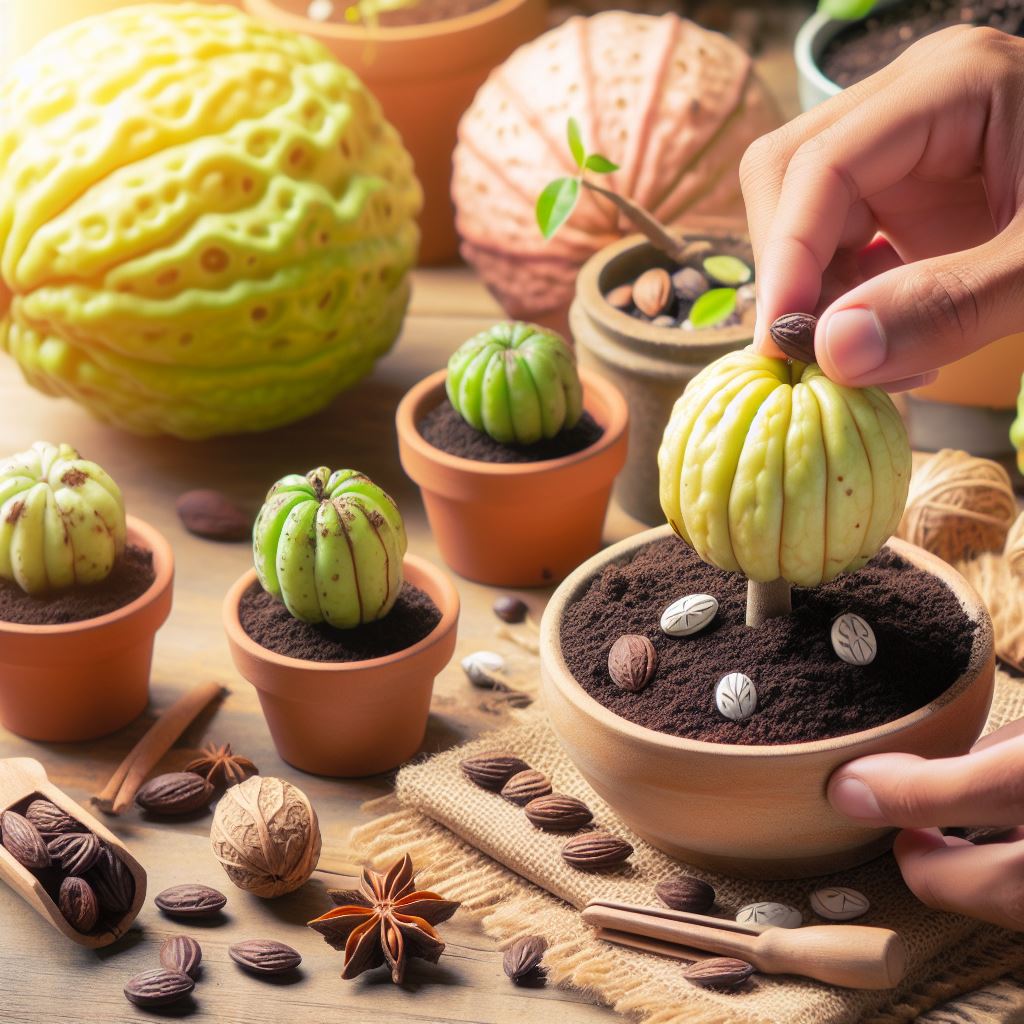
Growing cherimoya from seeds is a rewarding journey that transforms tiny seeds into lush, fruit-bearing trees. Cherimoya, also known as the “custard apple,” delights with its sweet and creamy flesh. In this comprehensive guide, we’ll explore the fascinating process of growing cherimoya seeds, from seed selection to nurturing young saplings, ultimately cultivating your own bounty of this delectable tropical fruit.
Selecting Quality Cherimoya Seeds
1. Source from Ripe Fruit:
- Obtain cherimoya seeds from a ripe fruit. Choose a fully ripened cherimoya, as the seeds inside are more likely to be mature and viable for germination.
2. Extracting Seeds:
- Scoop out the seeds from the cherimoya flesh. Rinse them thoroughly to remove any remaining pulp. Pat them dry with a paper towel.
3. Optimal Time for Seed Extraction:
- Extract seeds during the cherimoya fruit’s peak season, typically in late winter to early spring. This period enhances the chances of obtaining viable seeds.
Germinating Cherimoya Seeds
1. Preparing the Growing Medium:
- Use a well-draining potting mix for germination. A mix of perlite, coconut coir, and vermiculite provides an ideal balance of aeration and moisture retention.
2. Seed Planting Depth:
- Plant cherimoya seeds about 1 to 1.5 inches deep in the growing medium. Water the soil lightly after planting to settle it.
3. Creating a Mini Greenhouse:
- Cover the planted seeds with a plastic dome or plastic wrap to create a mini greenhouse effect. This helps maintain humidity and encourages germination.
4. Ideal Germination Temperature:
- Cherimoya seeds germinate best at temperatures around 75-80°F (24-27°C). Place the seed container in a warm location or use a heat mat to provide consistent warmth.
Nurturing Cherimoya Seedlings
1. Providing Ample Light:
- Once seedlings emerge, provide bright, indirect light. A sunny windowsill or supplemental fluorescent lighting works well.
2. Transplanting Seedlings:
- When seedlings have developed several true leaves, transplant them into larger containers. Use a well-draining potting mix suitable for fruit trees.
3. Gradual Acclimatization:
- If you plan to move cherimoya trees outdoors, gradually acclimate them to outdoor conditions. Start with short periods of exposure and gradually increase the time.
4. Watering Practices:
- Keep the soil consistently moist but not waterlogged. Cherimoyas prefer slightly acidic to neutral soil, so monitor pH levels and adjust if necessary.
Transitioning to the Outdoors
1. Outdoor Planting:
- Once the threat of frost has passed, consider planting cherimoya trees outdoors in a sunny location. Cherimoyas thrive in warm, subtropical climates.
2. Soil Requirements:
- Plant cherimoyas in well-draining soil enriched with organic matter. Mulching around the base helps retain moisture and suppress weeds.
3. Pruning for Shape:
- Prune cherimoya trees for a desirable shape and to promote air circulation. Remove any dead or damaged branches to maintain a healthy tree.
Patience and Enjoying the Fruits of Your Labor
1. Time to Fruit Bearing:
- Cherimoya trees typically take several years to bear fruit. Exercise patience as the trees grow and mature.
2. Harvesting Cherimoya:
- Cherimoyas are ready for harvest when the fruit gives slightly to gentle pressure. Harvest carefully to avoid damage to the delicate skin.
3. Culinary Delights:
- Enjoy the luscious fruits of your labor! Cherimoyas can be consumed fresh, added to smoothies, or used in various culinary creations.
Conclusion: From Seed to Bounty
In conclusion, growing cherimoya seeds is a delightful journey that transforms small seeds into flourishing fruit-bearing trees. By following these steps, from seed selection to outdoor planting, you can cultivate your own cherimoya haven, enjoying the sweet rewards of this tropical gem. Cherish the process, exercise patience, and revel in the joy of nurturing a plant that provides both visual beauty and delectable, custard-like fruits.
Also read: Unveiling The Secrets: Can I Plant Supermarket Garlic UK